제약 레이아웃(Constraint Layout)
제약 레이아웃은 제약조건인 연결선을 통해 그 안에 추가된 뷰들의 위치를 결정한다.
연결선은 뷰의 상, 하, 좌, 우에 있는 연결점을 다른 레이아웃이나 위젯의 상, 하, 좌, 우와 연결하여 만들 수 있다.
만약 버튼을 제약 레이아웃 안에 추가했다면 버튼을 담고 있는 부모 레이아웃인 제약 레이아웃과의 연결선을 만들 수도 있고 그 안에 들어있는 다른 뷰들과의 연결선을 만들 수도 있다.
이때 뷰의 위치를 결정 할 수 있을 만큼의 연결선이 없으면 해당 뷰는 위치 할 수 없게 된다.
즉, 버튼이 있을 때 아래 그림과 같이 왼쪽과 위쪽만 부모 레이아웃과 연결하면 위치를 결정할 수 없게 된다.
왜냐하면, 버튼이 위, 아래 공간 중에서 어디에 위치하도록 할 것인지 알 수 없기 때문이다.
따라서 버튼의 위쪽에 연결선을 하나 더 만들어주는 것이 필요하다.
만약 상, 하 연결선을 모두 부모 레이아웃과 연결하여 만들게 되면 그 뷰는 부모 레이아웃의 가운데 지점에 있게 된다.
(상, 하로 이어진 선의 중간 지점)
상, 하, 좌, 우 모두 부모 레이아웃과 연결하면 화면의 가운데 부분에 위치하게 된다.

리니어 레이아웃(Linear Layout)
Linear Layout은 자식(Children)들이 배치될 때, 각 View 위젯들이 차지하는 영역을 dp 등의 고정 치수 단위 뿐만 아니라, 전체 영역 대비 비율의 개념으로 지정할 수 있는 Weight(가중치) 설정 기능을 제공한다.
이때 Linear Layout을 이용할때는 항상 orientation 속성에서 수평 "horizontal" 혹은 수직 "vertical"으로 레이아웃을 추가해 나갈지 결정해주어야 한다.
<LinearLayout xmlns:android="http://schemas.android.com/apk/res/android"
  android:orientation="vertical"
  android:layout_width="match_parent"
  android:layout_height="match_parent"
>
그리고 리니어 레이아웃에서 내부 값들을 정렬 할 때
layout_gravity는 뷰를 정렬하는 데 사용되고 gravity는 뷰 안에 들어있는 내용물을 정렬할 때 사용된다

상대 레이아웃 (Relative Layout)
상대 레이아웃은 뷰를 담고 있는 부모 레이아웃이나 그 안에 들어있는 다른 뷰들과의 상대적 위치를 이용해 화면을 배치하는 레이아웃이다.

<?xml version="1.0" encoding="utf-8"?>
<RelativeLayout xmlns:android="http://schemas.android.com/apk/res/android"
    android:layout_width="match_parent"
    android:layout_height="match_parent" >

    <Button
        android:id="@+id/button1"
        android:layout_width="match_parent"
        android:layout_height="wrap_content"
        android:layout_alignParentTop="true"
        android:text="Button" />

    <Button
        android:id="@+id/button2"
        android:layout_width="match_parent"
        android:layout_height="wrap_content"
        android:layout_below="@+id/button1"
        android:text="Button" />

    <Button
        android:id="@+id/button3"
        android:layout_width="wrap_content"
        android:layout_height="wrap_content"
        android:layout_alignParentRight="true"
        android:layout_below="@+id/button2"
        android:text="Button" />

    <Button
        android:id="@+id/button4"
        android:layout_width="wrap_content"
        android:layout_height="match_parent"
        android:layout_alignParentLeft="true"
        android:layout_below="@+id/button3"
        android:text="Button" />
</RelativeLayout>

위의 코드는 다음과 같이 결과 화면이 나타나게 된다.
버튼1은 부모 레이아웃의 Top에 붙은 것,
버튼2는 버튼1의 아래에 붙은 것
버튼3은 부모 레이아웃의 오른쪽, 버튼2의 아래에 붙은 것
버튼4는 부모 레이아웃의 왼쪽, 버튼3의 아래에 붙은 것이다.
프레임 레이아웃(Frame Layout)
프레임 레이아웃은 사용자에게 화면 전환이 필요한 시점에 쓰이는 레이아웃이다.
이 레이아웃에는 android:visibility="invisible" 같은 속성을 정의 할 수 있는 부분이 있고,
레이아웃을 보이거나 안보이게 할 수 있다.
이때 레이아웃에 뷰를 여러 개 추가했다면 그중 가장 나중에 추가한 뷰만 화면에 보인다.
이런 특성 때문에 뷰들을 여러 개 담아놓고 중첩할 때 주로 사용된다.

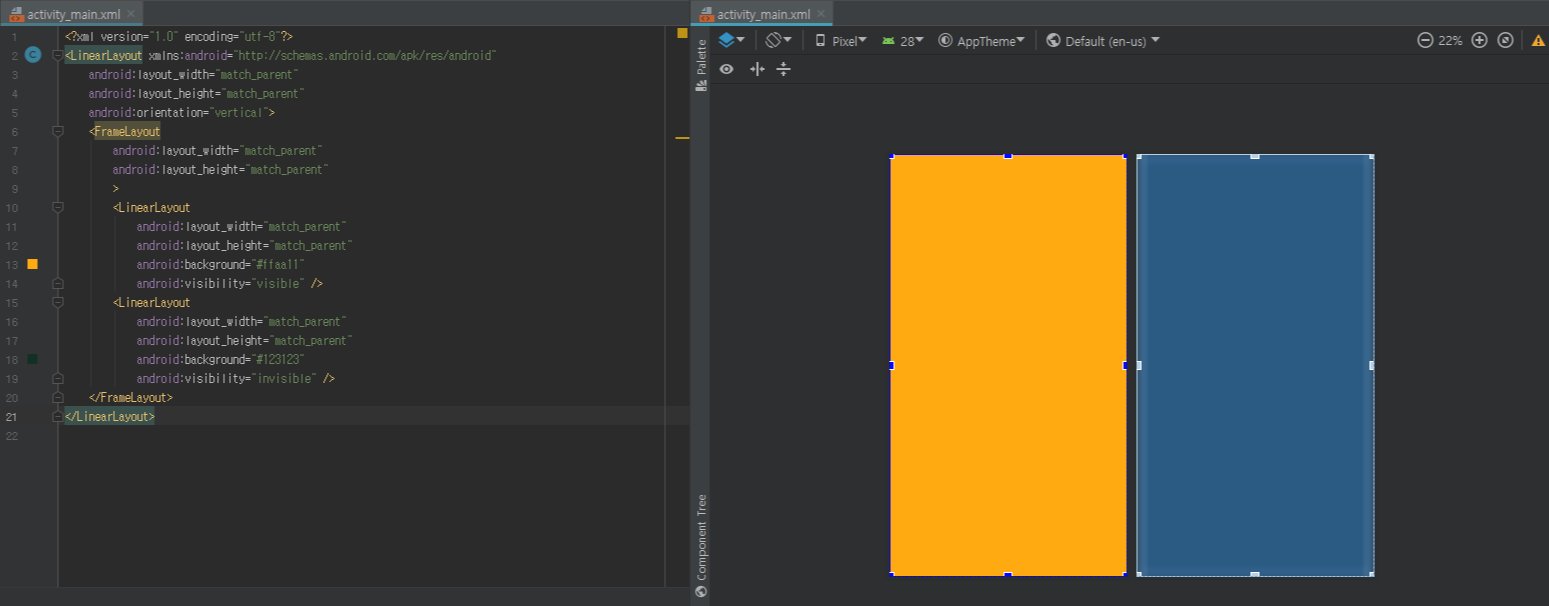
<?xml version="1.0" encoding="utf-8"?>
<LinearLayout xmlns:android="http://schemas.android.com/apk/res/android"
    android:layout_width="match_parent"
    android:layout_height="match_parent"
    android:orientation="vertical">
    <FrameLayout
        android:layout_width="match_parent"
        android:layout_height="match_parent"
        >
        <LinearLayout
            android:layout_width="match_parent"
            android:layout_height="match_parent"
            android:background="#ffaa11"
            android:visibility="visible" />
        <LinearLayout
            android:layout_width="match_parent"
            android:layout_height="match_parent"
            android:background="#123123"
            android:visibility="invisible" />
    </FrameLayout>
</LinearLayout>
<?xml version="1.0" encoding="utf-8"?>
<LinearLayout xmlns:android="http://schemas.android.com/apk/res/android"
    android:layout_width="match_parent"
    android:layout_height="match_parent"
    android:orientation="vertical">
    <FrameLayout
        android:layout_width="match_parent"
        android:layout_height="match_parent"
        >
        <LinearLayout
            android:layout_width="match_parent"
            android:layout_height="match_parent"
            android:background="#ffaa11"
            android:visibility="invisible" />
        <LinearLayout
            android:layout_width="match_parent"
            android:layout_height="match_parent"
            android:background="#123123"
            android:visibility="visible" />
    </FrameLayout>
</LinearLayout>

'Basic > Android' 카테고리의 다른 글
| Android Bundle이란? (0) | 2019.08.01 |
|---|---|
| LinearLayout에서 border 지정 (0) | 2019.07.13 |
| 안드로이드 뷰(Android View)란? (0) | 2019.07.10 |
| Android에서 여러가지 콜백 방법 (0) | 2019.07.03 |
| 싱글턴 패턴 구현을 통한 검증 (0) | 2019.06.27 |